November 28, 2011

Santa's Pants~~!

So, your son comes to you at 8 pm....."mom, tomorrow I need to bring a card or something for my Secret Santa teacher for student council.......can you make a card with Santa or something on it?"

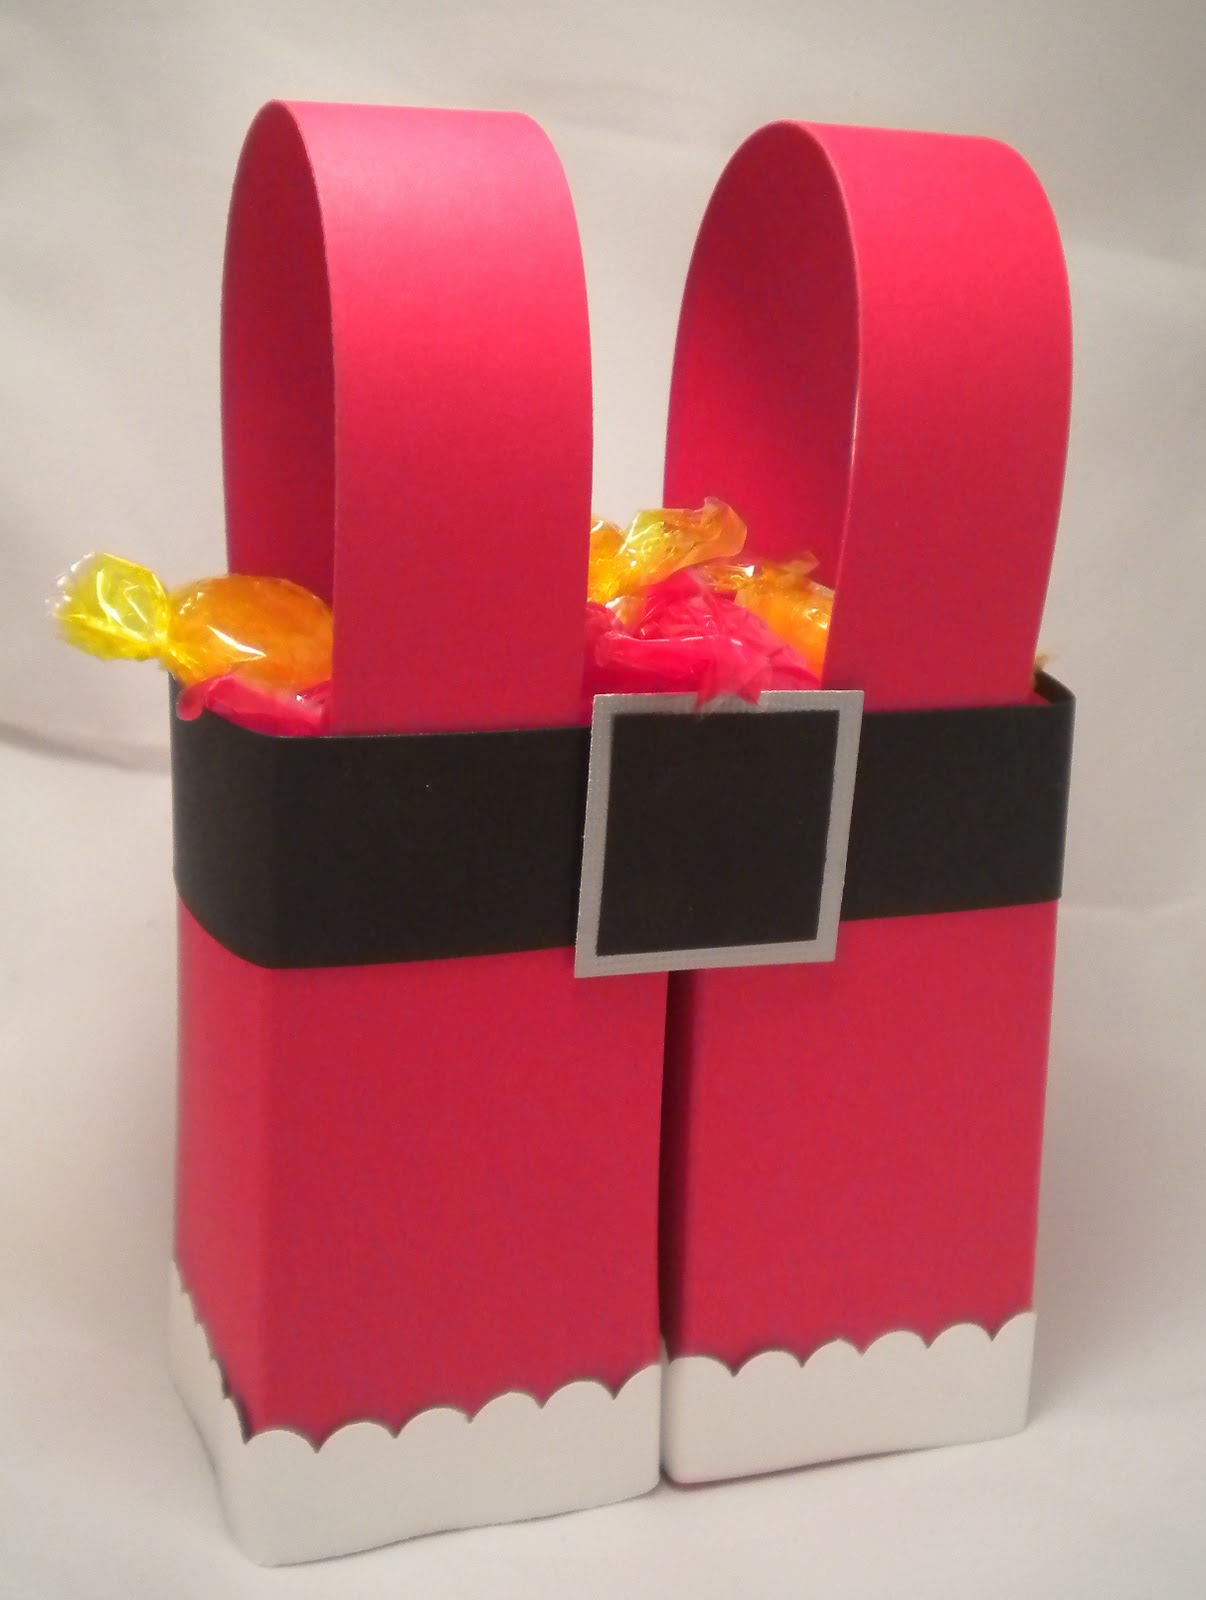
So what is one to do but jump on SCS for inspiration, and I was NOT disappointed with all the ideas!  I got this little number from HERE!  I just made a few changes to the buckle and voila!  I used the directions from the blog I linked you to above and they were VERY easy to follow!

Needless to say my son was uber impressed and I think the teacher will like it too!

Mission accomplished.

November 21, 2011

100 years later.....

....she posts again.....sheesh!  Crazy-ness!

I know it's been a very long time since I posted.....such is life I guess!

I cased this from a blog just this morning, and now naturally someone has closed all my "windows" and I cannot seem to locate the author.  I will keep looking and add when I find you!

I started with Espresso CS, the DSP is Old Olive and the SS is Bitty Bouquets (ret.).  I simply used my SU markers to give it some life!

It's Mail-A-Card-Monday!  Get to it!  This one is going out today!

~~Blessings~~
       Shelli

November 04, 2011

List Pads~~

I have made these before, but have you?  They are cute and inexpensive to make!


First buy 5x7 steno pads.  Big stores like Costco sell them cheapest in yellow, and office supply stores sell them in the white like I found here.  White costs more but is easier to work with when it comes to colors.  Your office supply store will cut them in half for you for very little (around 1-2$ per stack) Call around in your area for the best prices on cutting.


The CS you use behind the pad will be 9.5 inches by 1/4 inch wider than your pad.  I have had the size of the pad vary after cutting based on how careful the person is, so measure the pad and add 1/4 inch.  The score on the longest part at 1inch and 1 1/4 inch for the piece that comes up and over the top.  You will use Sticky Tape to adhere the pad to the cs.  Place one piece on the top of the list pad and three on the back.  A trick I learned is to remove the film on the sticky tape piece on the front first, then adhere that before you remove the pieces on the back.  Sticky Tape is very unforgiving remember.  Then just decorate in whatever theme you like and place two strips of magnet on the back for hanging on the fridge!  Ta-Da!


If you're confused, come to club this month.  I just decided we will be making them!


~~Blessings~~
Shelli